So, the back deck has been more happenin’ since Marnie started interning here at the company. You know how it is, though. Interns may mean well, but they’re still learning the ropes, so they tend to make a few…boo boos. In Marnie’s case, she’s made a few interesting gardening decisions. Like, by digging holes. She keeps digging holes in my potted tomato plants, and it’s driving me crazy!
Thank goodness for this awesome DIY irrigation system we put in last summer. It gives the plants a fighting chance while Jr. Assistant Gardener Marnie Madonna hones her green thumb. 🙂
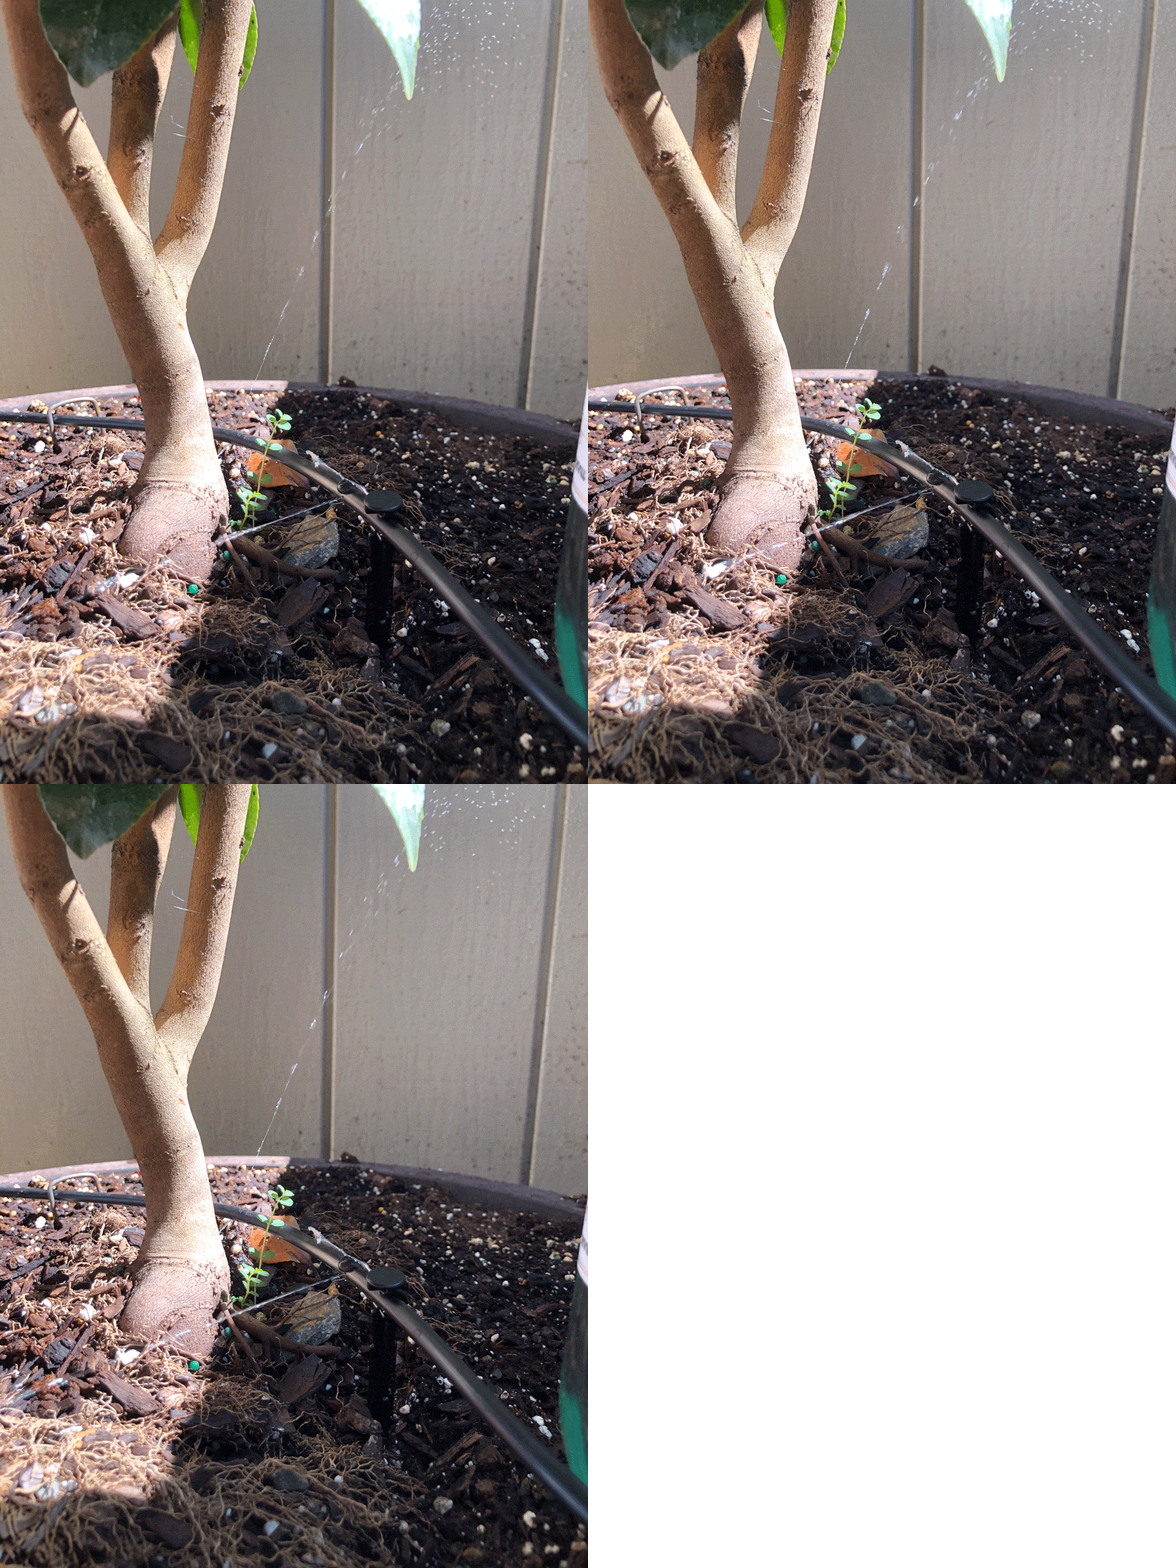
So, while those of us of the bipedal, humanoid variety were in the islands last week, Rosie kept herself busy here at the home office, of course. Not only did she keep the business running smoothly, she also found time to invent a DIY irrigation system to keep our potted plants properly hydrated.
Sure, she could have used the watering hose, but that would have been too easy! 🙂
Here’s the gist of it: Everything’s available from Amazon, and the components are pretty affordable. Everything here can be purchased for about $75 dollars and be reused for many years. It combines a mini submersible water pump like the kind used to circulate water in a small aquarium, with a simple WiFi smart plug. You place the small pump into a bucket or other container of water, run some irrigation tubing from it to each of your potted plants, poke some holes into the tubing where you want the water to spritz your plants, and control everything from your phone with a smart plug app! You can even set an automatic schedule. Like, Rosie set hers to run for 30 minutes every morning.
A large tote like the one Rosie used here holds more than enough water to keep a handful of large potted plants happily hydrated for two to three weeks. When we got back from Hawaii, our tomatoes were going off! The bushes were bursting with bright red deliciousness. 🍅 Thank you, Rosie! 🙂
Note: The wine bottle watering spikes in these pics were from a previous effort to automatically water our plants. Rosie wasn’t too thrilled about how well they worked. They did alright for a couple days, but then they were empty, which is why she developed her WiFi water pump method, which could last a whole lot longer.
Here’s what you need:
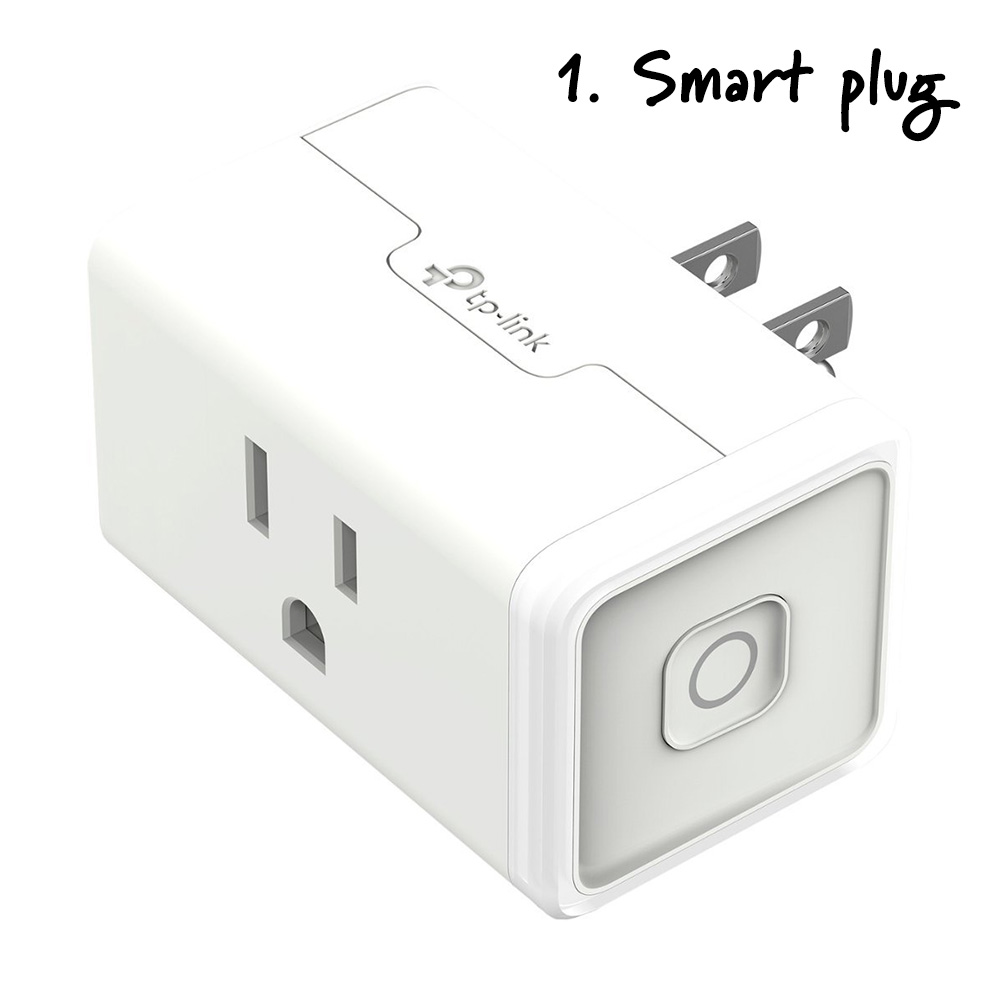


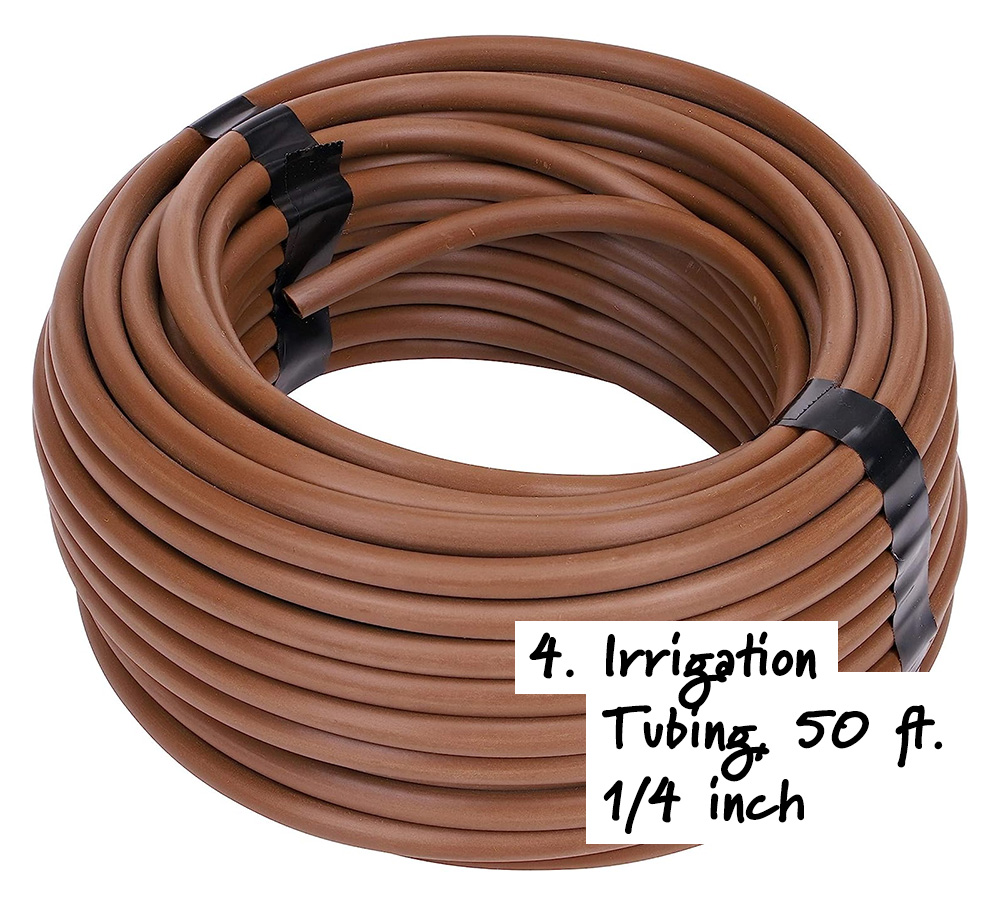

The pump Rosie recommends has an automatic shutoff in case the tote or bucket it sits in runs out of water. She said the whole thing is really easy to set up, but give yourself a couple hours to cut the tubing, which you can easily do with a pair of household scissors, and poke the little holes into the tubing with a sewing needle. You can use little pieces of duct tape to cover up any holes in the tubing you decide you don’t want to use.


The Kasa smart plug Rosie used isn’t outdoor rated, so this one works best if it isn’t exposed to rain. Kasa does make a fully outdoor smart plug if you need one.

It’s a good idea to cover the water container you use, especially if it’s going to be left outside, because of, you know, MOSQUITOS. No one wants to come home to a billion hungry bugs.
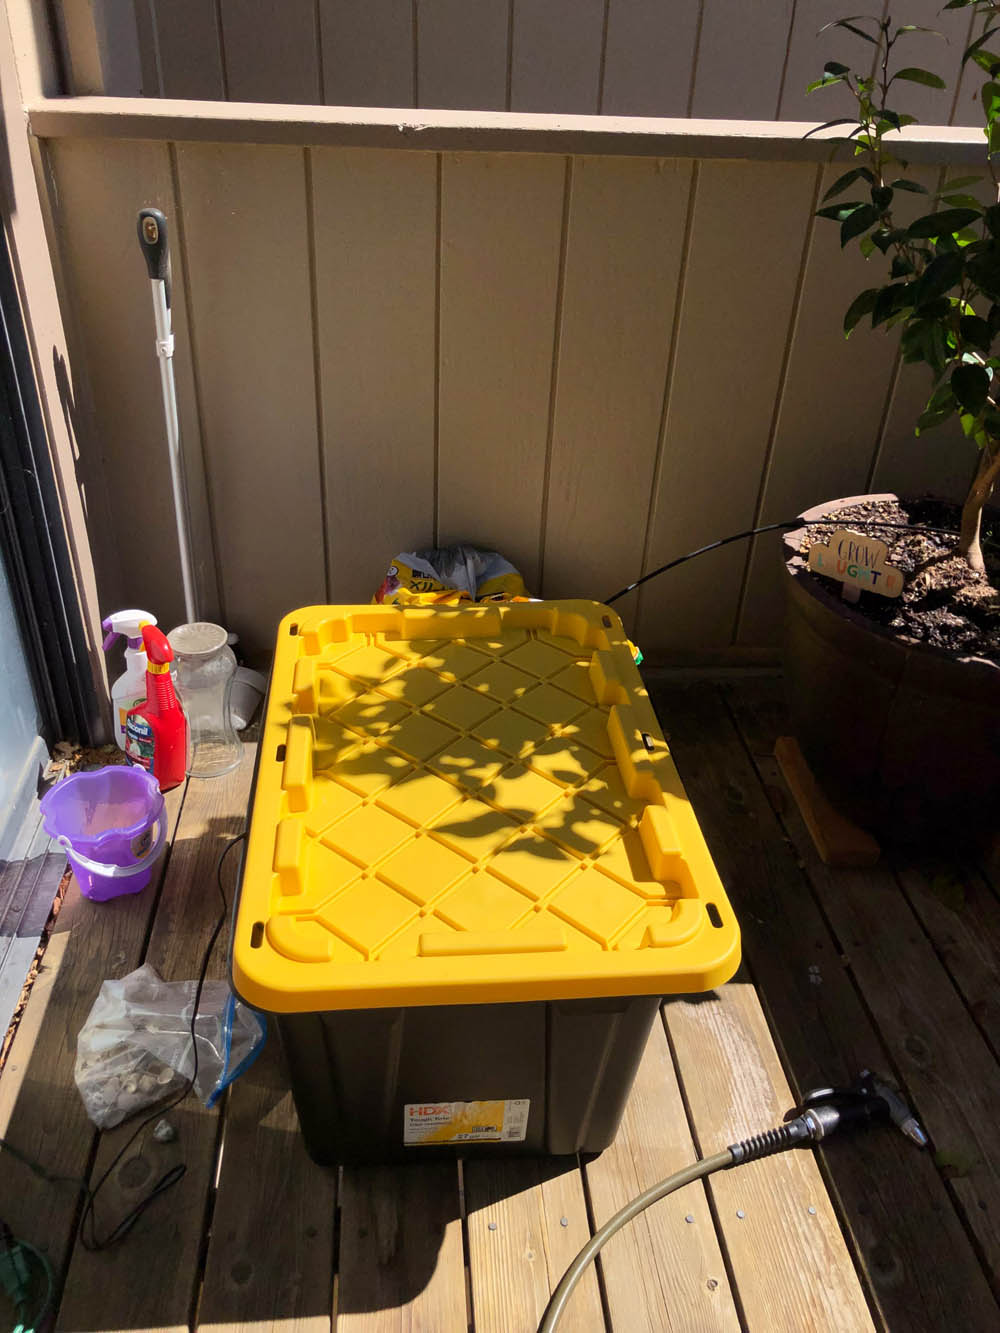
Small plastic stakes are available that you can use to keep the tubing off the ground, but they really aren’t necessary. You can use a rock or something else to position the tubing and keep it where you want it.
You may, and probably will, also need an extension cord, because the submersible pump only has about a 4 ft. long power cable. Here’s a pretty good one.


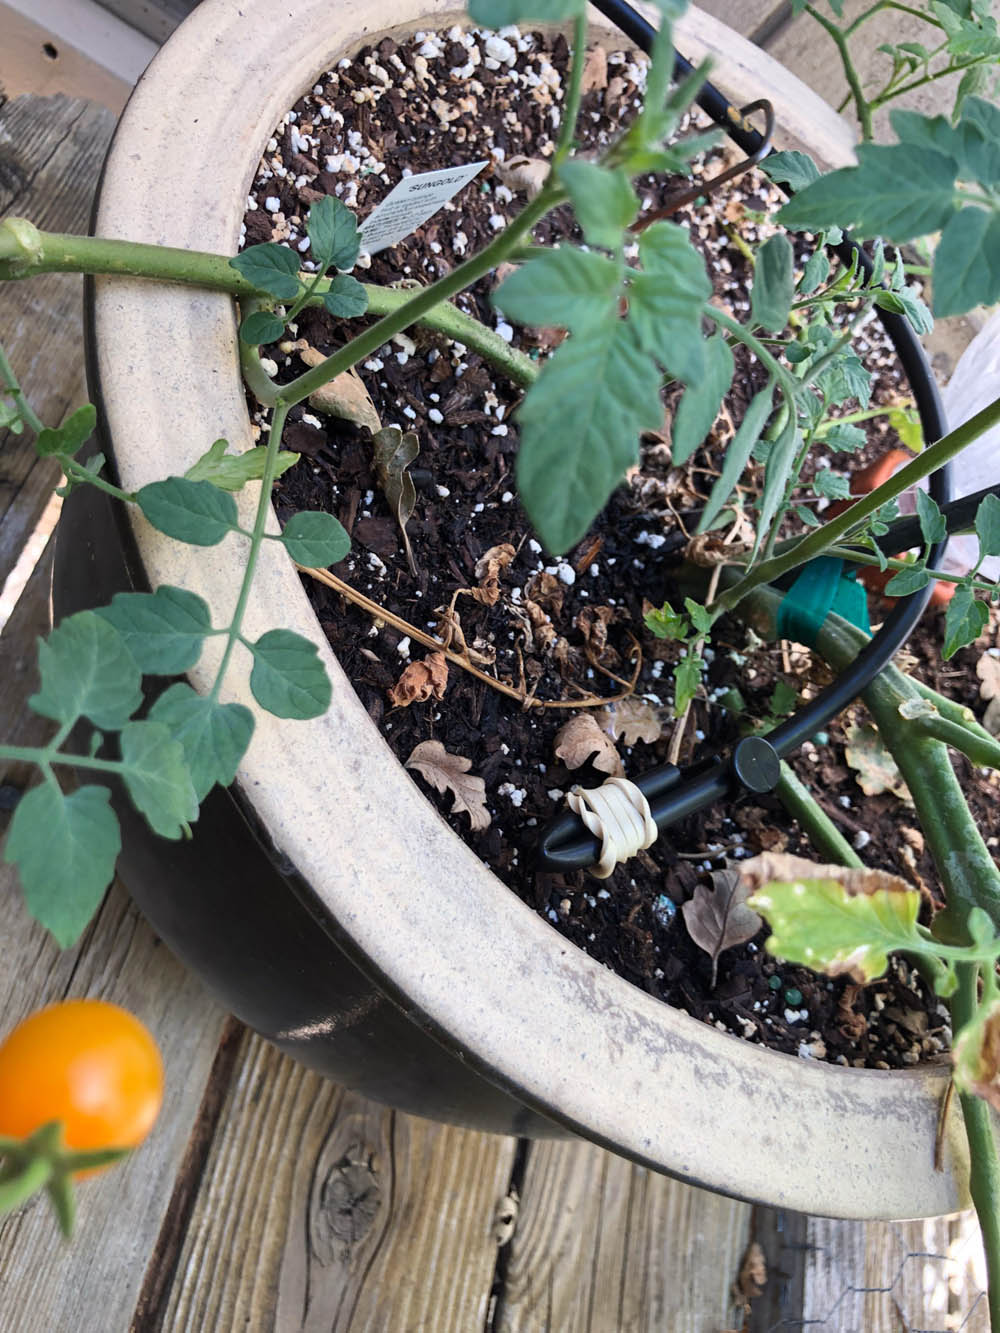
At the very end of your tubing, you may want to crimp or fold the last inch or two of tubing and hold it crimped with a rubber band. If you don’t do that, that last plant in the line will probably get a lot more water than everything else — probably a lot more water than it needs. Crimping the end will increase the water pressure and the flow rate to the needle holes you make elsewhere in the tube.
Happy watering! 🙂
Your friendly neighborhood beauty addict,
Karen


